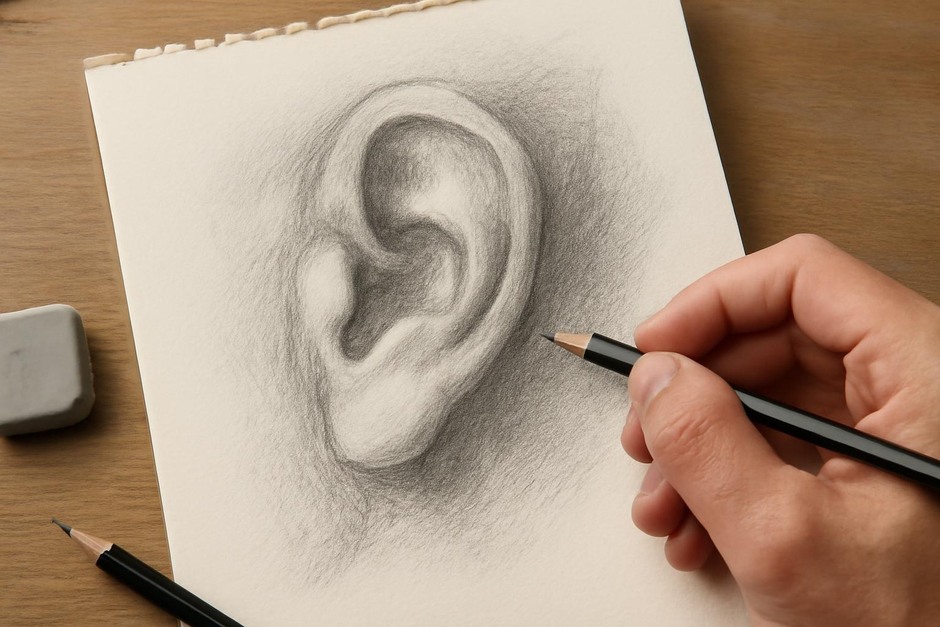
Drawing Edges to Read Form: A Step-by-Step Studio Method
Question
How can paying deliberate attention to edge quality—where a plane turns, where forms overlap, where light transitions—help a sketch better describe three-dimensional form without requiring many lines?
Step-by-step method
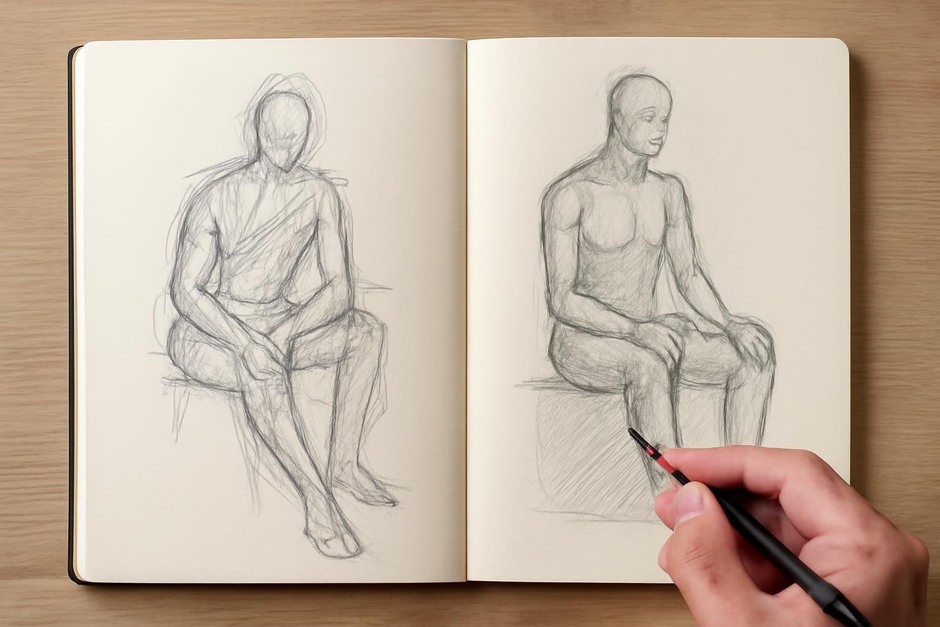
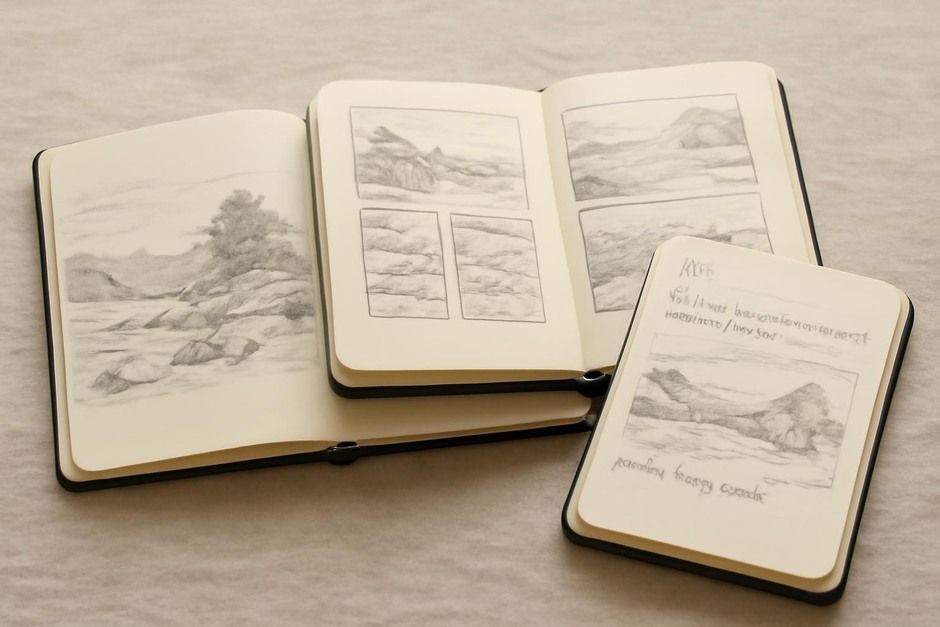
This is a compact studio exercise designed for a single sketching session (20–60 minutes). It emphasizes seeing and recording edges rather than rendering tone fully. Gather an A5–A4 sketchbook, a 2B pencil or a thin brush pen, and an eraser. Use a viewfinder or simply frame with your hands if working in the field.
-
Set an intention (1–2 minutes).
Decide whether your goal is speed, clarity, or note-taking for a later study. This will guide how many edge types you record and how much refining you do.
-
Choose three edge categories (1 minute).
Label them lightly at the top of the page: hard edge, soft edge, lost edge. Optionally add a fourth: descriptive/texture edge. Keeping the list short forces selectivity.
-
Find two anchor contours (3–5 minutes).
Identify and lightly sketch two main silhouette contours that locate the subject on the page and set scale. Use minimal lines—no shading yet. These anchors will help compare internal edges.
-
Scan for decisive edges (5–10 minutes).
Slowly sweep your eyes across the subject. For each edge you notice, decide which category it belongs to and mark it with a single deliberate gesture: a hard confident line for sharp changes in plane, a feathered line or broken mark for soft transitions, and an implied or interrupted mark where the form dissolves into a background (lost edge).
-
Map values with edge cues (5–10 minutes).
Rather than fill entire masses, place small value notes adjacent to edges: a short hatch, a wash, or a dot cluster. These marks are cues—how dark the form is relative to the background where the edge sits. They anchor the edge decisions within light relationships.
-
Refine selectively (remaining time).
Pick one area to develop slightly more—perhaps where a soft shadow meets a hard rim light. Make subtle adjustments: soften a line with a kneaded eraser, deepen a hatch, or add a tiny texture to show material. Resist overworking other parts; the intent is clarity, not polish.
Variations
-
Fast field sketch (5–10 minutes).
Use only two categories: hard and soft. Work with a single continuous pen stroke for anchors, then add a few directional marks to indicate value. This is ideal for transit or outdoor sketching where time is limited.
-
Value-first edge mapping.
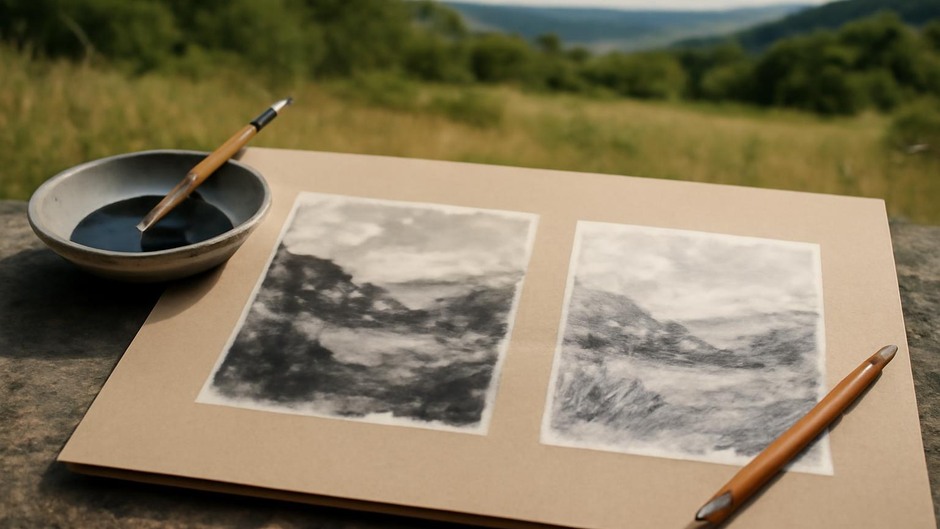
Begin by blocking in two mid-tone shapes with a brush pen or charcoal, then lift edges out with eraser or negative drawing. This reverses the process and is useful when the overall light pattern is dominant.
-
Texture-focused edges.
When materials matter (wood grain, fabric folds), add a fourth category for descriptive edges. Use shorter, repeated marks to suggest texture without drawing every detail.
-
Pen-and-wash interpretation.
Lay down edge marks with pen, then a light wash to unify. Hard edges stay crisp; soft edges can be blurred with a damp brush. This is useful for teaching edge contrast with a clear before-and-after stage.
Troubleshooting
-
Problem: Every line looks important.
Fix: Limit yourself to three marks per visible plane. If tempted to add more, step back and name the purpose of the extra mark. If it doesn’t change how the form reads, erase it.
-
Problem: Edges feel disconnected from light.
Fix: Pause and squint. Squinting reduces detail and emphasizes large-value relationships, making it easier to place hard versus soft edges.
-
Problem: Lost edges disappear too much.
Fix: Introduce a faint counter-edge—one small lighter or darker mark just beside the lost edge. It suggests continuity without reasserting an outline.
-
Problem: Overly tentative lines.
Fix: Use a firmer tool (a harder pencil or a fine-tipped pen) for anchor contours, then switch to softer media for transitions. Committing an anchor line helps subsequent edges relate to a stable structure.
Review
After the exercise, compare what you recorded against the actual subject for two minutes. Note three things: one edge you misread, one edge you captured successfully, and one decision you made—why you chose to render an edge as hard, soft, or lost. These short notes build a repertoire of visual choices you can apply in future sketches.
Edge quality is a compact vocabulary for reading form. With repeated practice—varying speed and media—you’ll find you can suggest volume and material with fewer marks and greater clarity. Use this method as a focused study or as a practical approach during sketchbook fieldwork; the constraints will sharpen what you see.